Modding BattleWorms
You can mod BattleWorms by creating a directory under the installation directory.
Then you can place files in the directory in the same way the files are organized in
the Default directory. (The settings in) these files will replace the settings of the mods selected before it
when starting a new game.
You can put files in the menu directory of your
mod without affecting the game. The other graphics files (in the gfx directory) can be replaced, but then you should keep the images
the exact same size. If your files are not the same size you should give your files to the other players.
The important thing is that everybody in a game uses image files with the same
size at all the players.
Alot of settings of weapons and other gameobjects can be changed with the
*.cfg files. If you place these files in your mod directory and select it as one of the mods for the game, it will use
your settings. Only the general.cfg file is required. If one of the other files
isn't in your mod directory the game will use the settings from the mods loaded
before it. The same goes for the settings in those files. If you do not include
some settings in the files, the settings for those objects from mods loaded
before it are used. See also the example at the end of this page.
| general.cfg | Contains the full name of the mod, your name and
general settings (like gravity). A mod should always contain this file (but not necessarily all the settings). |
| weapons.cfg | Contains the settings for the weapons in your mod |
| bullets.cfg | Contains the settings for the bullets in your mod |
| sprites.cfg | Contains the settings for the sprites in your mod |
| sounds.cfg | Contains the settings for the sounds your mod |
| gameobjects.cfg | Contains the settings for several gameobjects
(including the worm and sheep) |
The information in these files will be sent from the server (the person who started
the game) to all the connecting clients. Only when you use modified graphics or
sounds you should make sure the clients have those already.
Example
A mod that changes the machinegun of the Default mod into a SuperMachine gun could be created as following. Create a directory 'SuperMachinegun' in the BattleWorms directory. Then put the following files in them:
general.cfg
[Info]

ModName = Super Machinegun

Creator = Peter


[GeneralSettings]

SelectableWeapons = Machinegun
The properties Gravity and AirDensity aren't used. This means they will have the same values they had, before this mod was loaded. The property SelectableWeapons has only the Machinegun in the list. This means only the Machinegun can be selected as a weapon in the weapon selection of the players. You can use this value to restrict what weapons can be used with your mod. Only the value of SelectableWeapons of the last loaded mod is used, though. The names should the names of the sections in the weapons.cfg and not the DisplayNames of those weapons.
weapons.cfg
[General]

0 = Machinegun


[Machinegun]

DisplayName = Super Machinegun

FireAgainTime = 1
Under the heading General is a list of all the section this file contains. In this case there is only one section called Machinegun. Because this is the same name as a weapon used in the Default mod, BattleWorms will overwrite the values of the listed settings of that weapon with the values specified in this mod. In this case it will change the name of the weapon as it is presented to the user to Super Machinegun and it will halve the time between shots.
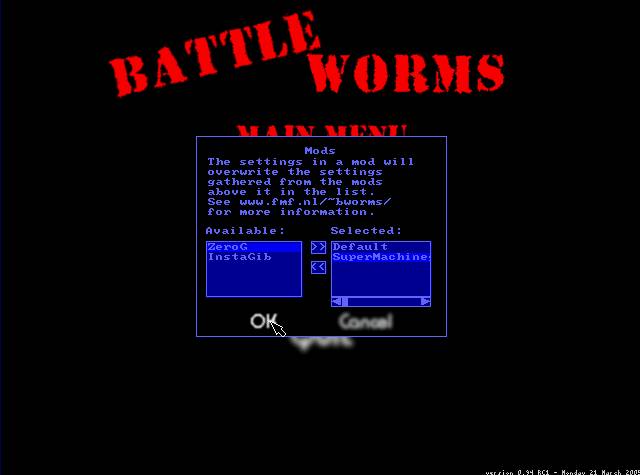
Start a New Game in BattleWorms. Select as the mods 'Default' and 'SuperMachinegun'. Default should be the first mod in the selected list, followed by the Super Machinegun mod. Then press OK. In the lobby you probably need to change your Personal settings, as the mod restricts the weapons to the Super Machinegun only. Press Accept to start the game!
|
